

Call Flows
Call flows are visual diagrams that define how incoming phone calls are routed. Each flow is a series of connected steps — when a call comes in, oHallo follows the path you have designed to greet the caller, present menu options, queue them for an agent, or play a recorded message.
The Call Flows page
Section titled “The Call Flows page”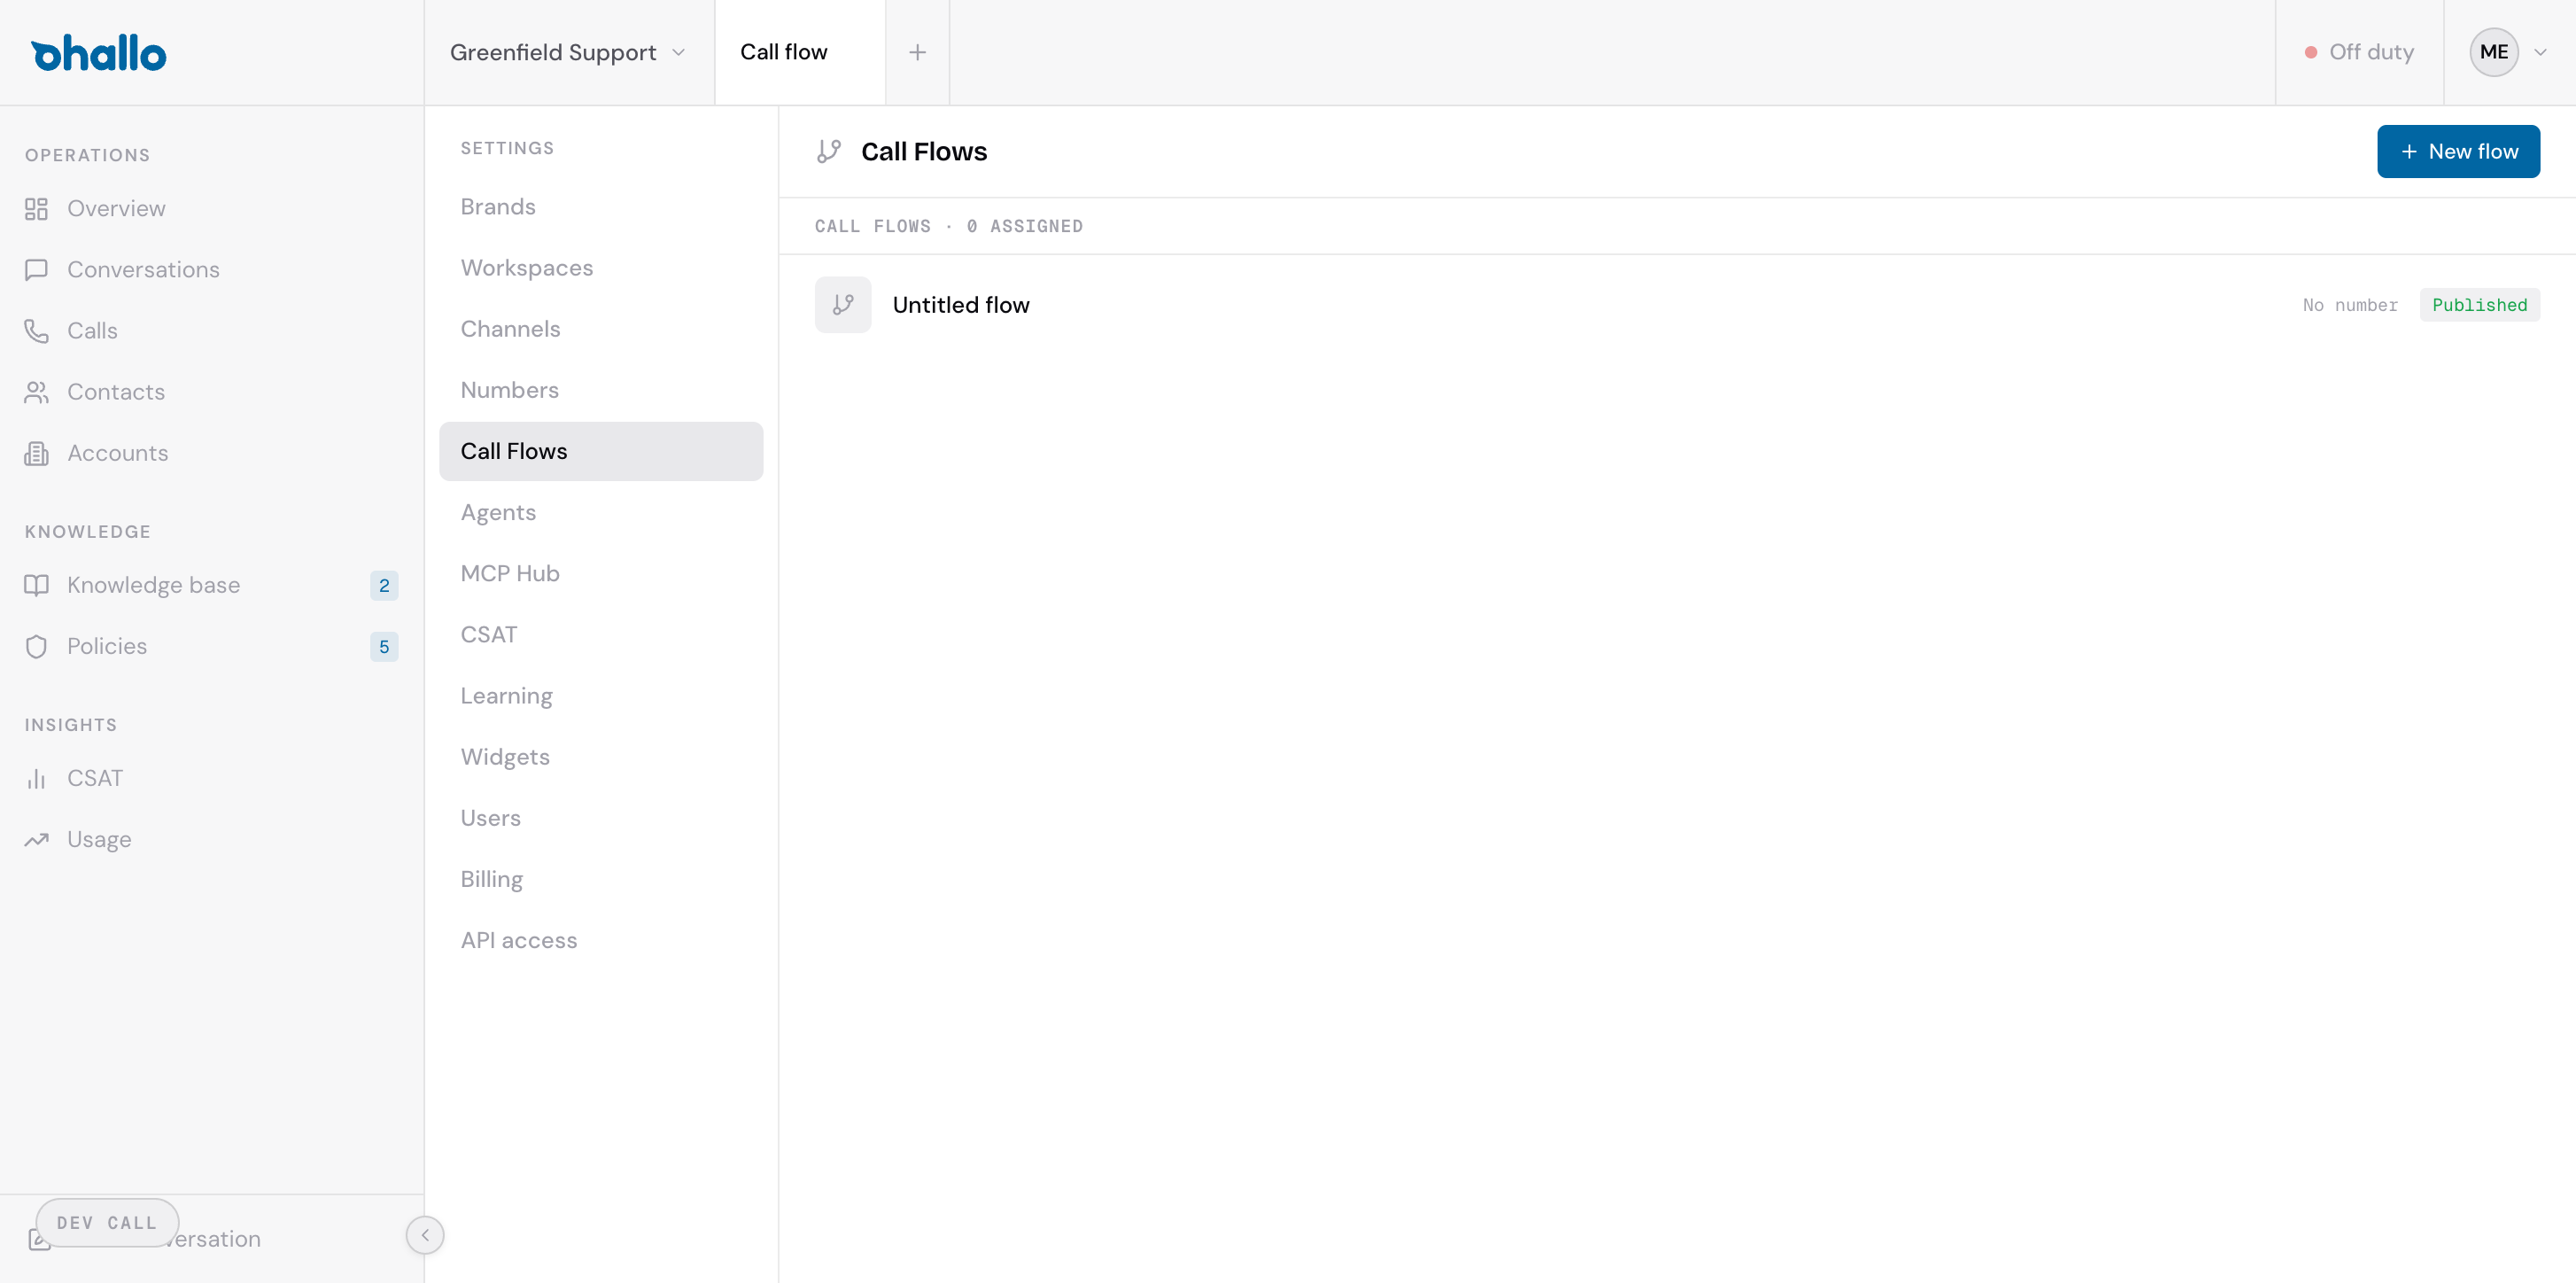
Go to Settings — Call Flows to see all your flows. The page has two tabs:
- Call Flows — flows you have created
- Assigned — flows currently linked to a phone number
Each row shows the flow’s name, the phone number it is assigned to (if any), and its current status (Published or Draft). Click a flow to open it in the visual editor.
Creating a call flow
Section titled “Creating a call flow”- Click the + New flow button in the top-right corner.
- Give your flow a name.
- The visual editor opens with an Incoming Call node already placed — this is the starting point for every flow.
- Add nodes, connect them with edges, and configure each step.
- Save and publish when your flow is ready.
The visual editor
Section titled “The visual editor”The editor is a node-based diagram builder. You place nodes on the canvas and connect them with lines (edges) to define the path a call follows. Drag nodes to rearrange them, and click on any node to configure its settings.
Node types
Section titled “Node types”Each node represents a step in your call flow. The available types are:
| Node | Purpose |
|---|---|
| Incoming Call | The entry point for all calls. Every flow starts here. You cannot delete this node. |
| Menu | Plays a voice prompt and routes the caller based on their keypad input. For example, “Press 1 for sales, press 2 for support.” Each key maps to a different branch in your flow. |
| Play Audio | Plays a recorded message or a text-to-speech clip to the caller. Useful for greetings, announcements, or after-hours messages. |
| Queue | Places the caller in a waiting queue until an agent is available to pick up. You can configure hold music and maximum wait time. |
| Schedule Check | Routes the call differently based on your business hours. For example, during office hours the call goes to a queue, while after hours it plays a voicemail message. |
| Hangup | Ends the call. Use this at the end of branches where no further action is needed — for example, after playing an after-hours message. |
Audio clips
Section titled “Audio clips”When configuring Play Audio or Menu nodes, you can provide audio in two ways:
- Upload a recording — use a pre-recorded audio file (MP3 or WAV)
- Text-to-speech — type the message you want read aloud and select a voice from the available options
Text-to-speech is useful for quickly testing flows or when you need to update messages frequently without re-recording.
Validation
Section titled “Validation”Before you can publish a flow, the editor checks it for errors. Common issues include:
- Missing connections — a node has no outgoing edge, so the call would dead-end
- Unreachable nodes — a node exists on the canvas but is not connected to any path from the Incoming Call node
- Incomplete configuration — a node is missing required settings (for example, a Menu node with no prompt text)
Fix any flagged issues before saving. The editor highlights problem nodes so you can find and correct them quickly.
Assigning a flow to a number
Section titled “Assigning a flow to a number”A call flow only becomes active when it is assigned to a phone number. Go to Settings — Numbers, select a number, and choose which published flow should handle its incoming calls. Each number can have one active flow at a time.